Thermal Mounting Machine
Name: Automatic thermal mounting machine
Manufacturer: American Buehler Instruments
Purchasing date: November, 2008
Main Specifications:
- Forming load: 80 ~ 300bar, with an increment of 5 bar;
- Molding temperature: 50 to 180 degrees Celsius, with an increment of 10 degrees Celsius;
- Mold size: 25mm, 30mm; LCD touch-screen control
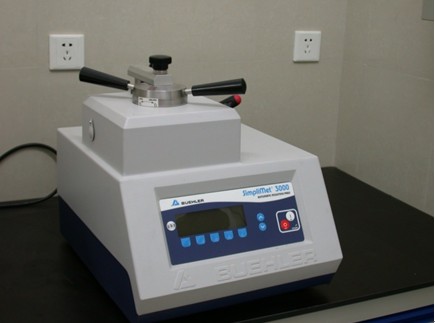
Equipment Type: Simplimet 3000
Main application areas: Mounting small, difficult to hold manually or irregular metallographic and petrographic samples. After mounting, it is convenient to grind and polish, and also has the advantages of correctly observing the ideal material organization through metallurgical microscope and measuring the hardness by hardness tester.
Main Functions:
It is sample preparation equipment with automatic microcomputer controller and electro-hydraulic system; it could prepare samples with a diameter of 25 mm in a short time.
Related links:
Buehler's website: http: //www.buehler.com/productinfo/gp1.htm
Person in charge of the equipment: Xue Wenbin
Location: Room 131, RAL
Ways of contact:
Tel: 83686420
E-mail:
Operation Rules
1) Power on. Check whether there is any mount powder sticking to the edge of mold. Clear it up and don’t scratch the mold.
2) Press the UPWARD button on the panel to lift the lower platform of sample bin up to the level of working platform. Put into the sample, press DOWNWARD button to lower the lower platform to keep a height difference from working platform, and then add mount materials into it. Continue to press DOWNWARD button till the machine is bleeping, which shows it comes to the lowest level. If the lower platform cannot come to the lowest level, mounting cannot be operated normally.
3) Close the cover. Press the mold firmly on upper platform. Rotate clockwise the horizontal level wrench locking device, and press START on the control panel to mount.
4) Under normal setting temperature (140e) and normal pressure demand conditions, time 4 minutes, and the sample will be mounted successfully.
5) Process of taking out sample:
Rotate the handle counterclockwise till it is in the same vertical plane with sample bin. Press UPWARD button to raise up the upper mold, and the sample.
6) Power off, and stop water cooling system.
7) After mounting, clear up the workbench and mounting powder left on upper and lower mold. Cover the dust shield. Experiment ends.